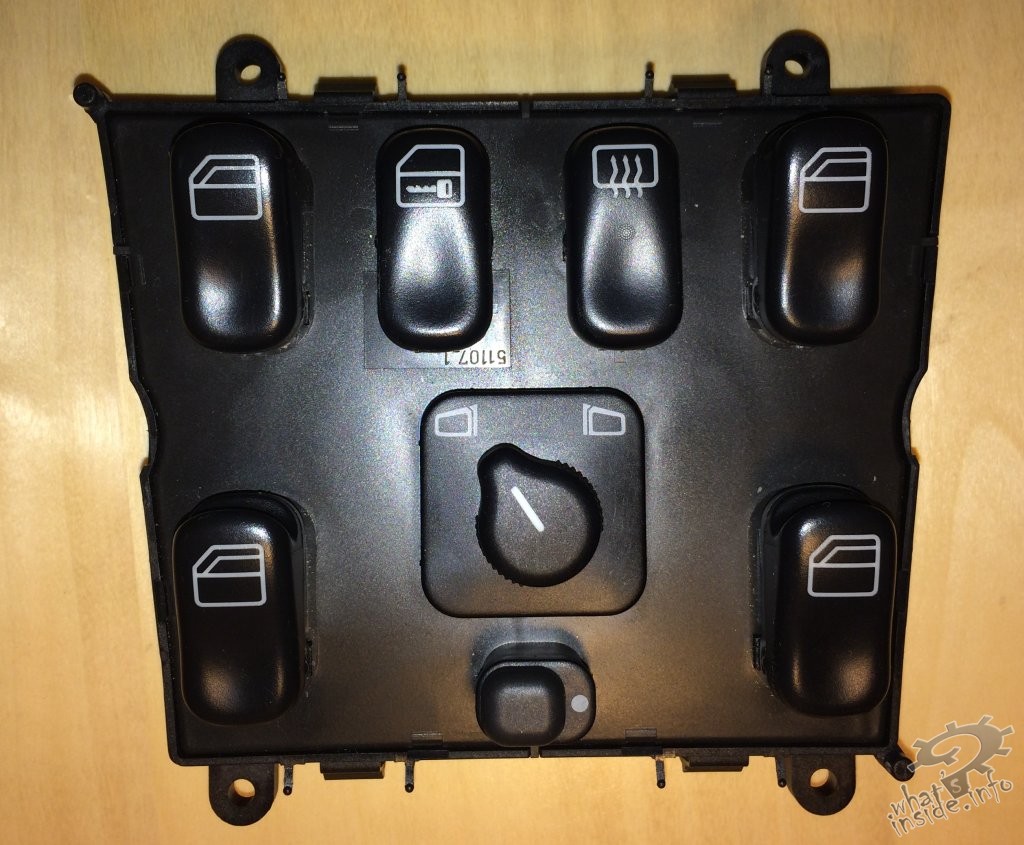
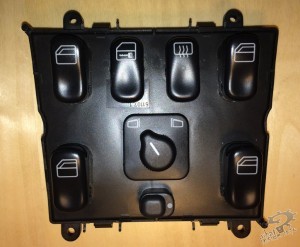
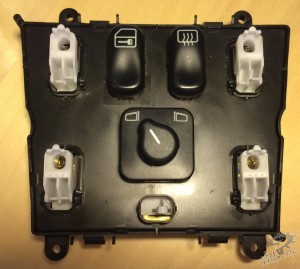
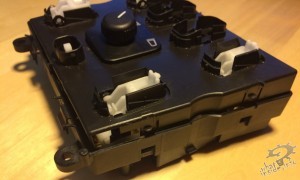
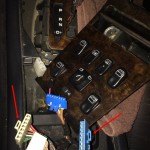
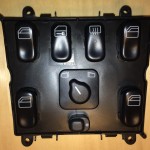
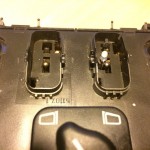
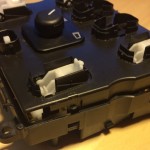
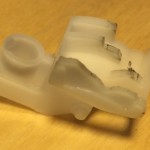
Mercedes-Benz ML W163 window switch console, on models build between 1998-2002, manifests a wearing symptom on the windows switches: they require more pulling force for window rising operation until they become unresponsive.
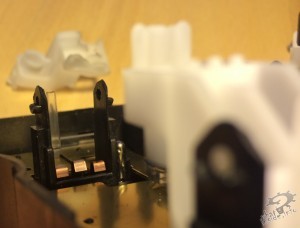
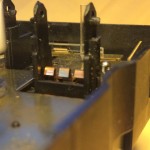
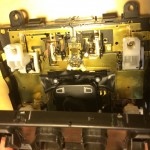
The windows control console buttons rely on plastic rockers pushing on copper blades to interrupt contact for windows operation. In time, depending on usage, these copper blades become become bent downward and loose mechanical contact with the plastic rocker switch, especially for the driver window rising.
The copper blades of the contacts require realignment, to get them in contact with the sliding plastic rockers.
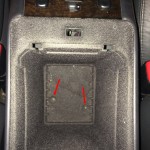
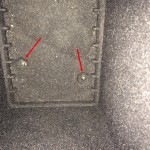
First remove the storage bin under the armrest, by unscrewing the two phillips head screws. On some cars, these were torx head screws.
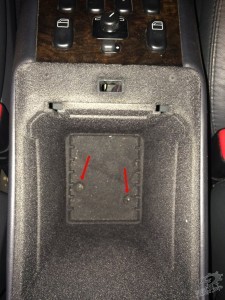
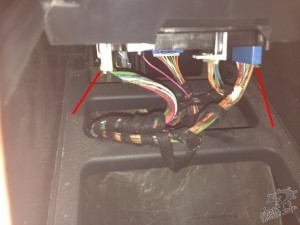
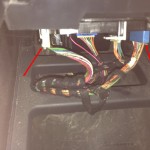
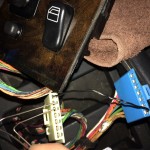
Now you can reach the connectors by hand through the storage bin opening, but you will not remove them now.
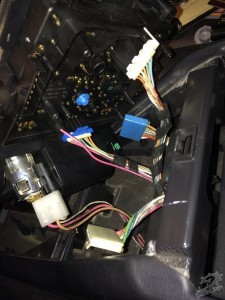
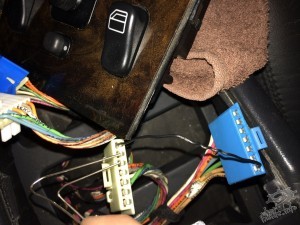
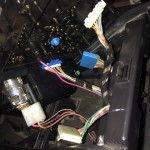
After removing the storage bin, lift the whole center console wood trim cover by pulling and lifting from the storage bin side up to the front. When reaching front side, you should pull back to remove it as there are two plastic hooks at the front, but first remove the connectors:
You can now close your driver window (front left) if it remained open, until your repair is ready, by shorting the following pins between the two window connectors:
You can unclip the buttons module from the console trim by unclipping it. The four screw holes are unused but can be of use on reassempbly if some clips break.
Disassembly of the buttons module require removing almost all button covers, except the mirrors joystick.
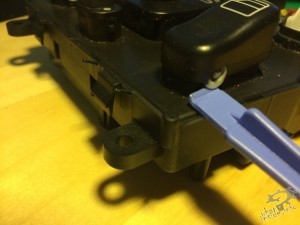
Gently remove button covers by first unclipping one side:
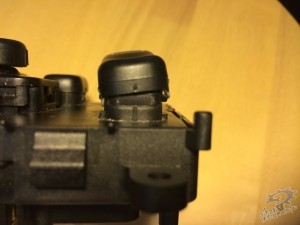
Then wiggle it to the other side until it unclips completely:
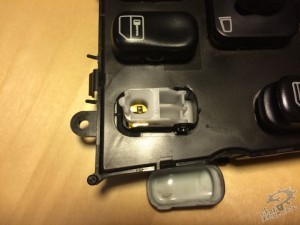
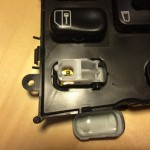
Now you should see the white plastic rocker:
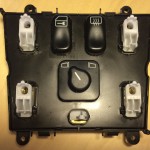
All covers should be removed:
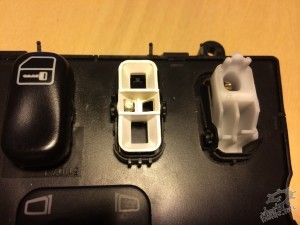
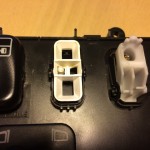
The ones between front left and right window will also require white plastic rocker to be removed:
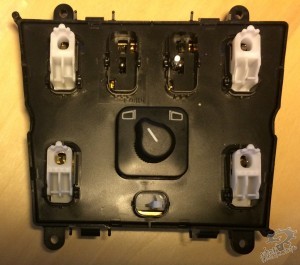
After removing the white plastic rocker from the lock and defog switches:
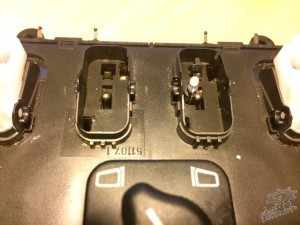
You can see their spring pins which you should pay attention not to loose. It is better to keep the module on a flat surface while doing the repair:
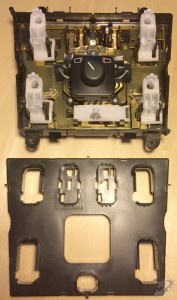
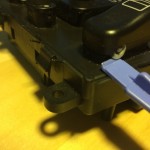
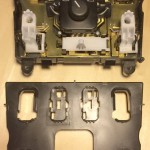
Now the module cover can be lifted up by unclipping the 8 clips around the edges:
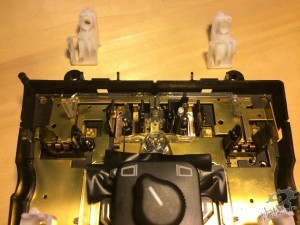
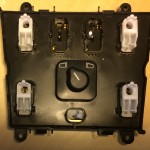
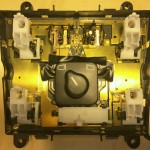
After removing it:
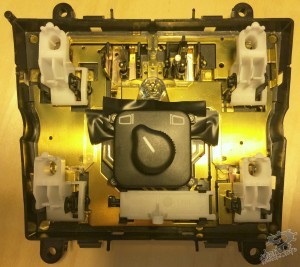
You can start removing the white plastic rocker for the non-working switches. It would also be a good idea to remove it for frequently used windows at this point.
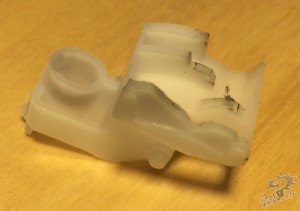
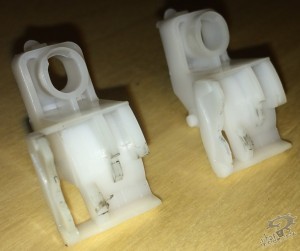
You can see the wear level of the front left rocker:
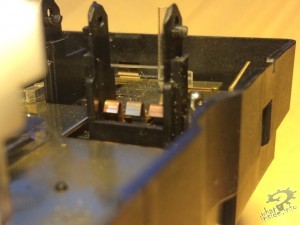
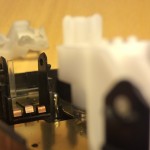
The copper blades that it is pushing against:
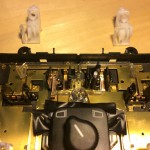
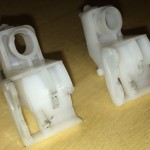
Here you can see both front window switches rockers removed:
And here the wear level compared, look at the leftmost rise, near the rectangular hole:
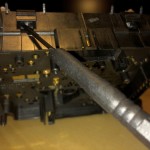
Here you can see the wrongly readjusted level of the blades, they are too high, tend to glitch on sliding and not allow rocker full slide.
Readjustment should be made by rising from the outermost part of the blade, this way it will get a rounder top part for smoother slide against the rocker. Then it should be pushed back to its correct riding height. From my experience, the correct height is 1 mm on top of the former riding height. Do not raise it so high as in the photo!
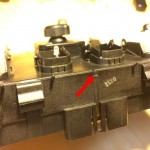
On reassembly, check that the top cover pin in the front is flush with the contour of the module.
Below is the full photos gallery:
Other websites describing this operation:

